아마존 웹 서비스를 이용하기 위해선 회원가입을 해야 한다.
To use Amazon web services, we need to create an account.
회원가입을 하면서 주의할 점은 아마존 웹 서비스 사이트가 해외 사이트이므로 모두 영어로
입력해야 한다는 것이다.
One thing to note while signing up is that the Amazon web service site is an overseas site,
so all must be entered in English.
이제 회원가입 절차를 같이 살펴보자.
Let's look at the account creation process together.
먼저 아마존 웹 서비스 사이트에 접속한다.
First, access the Amazon web service site.
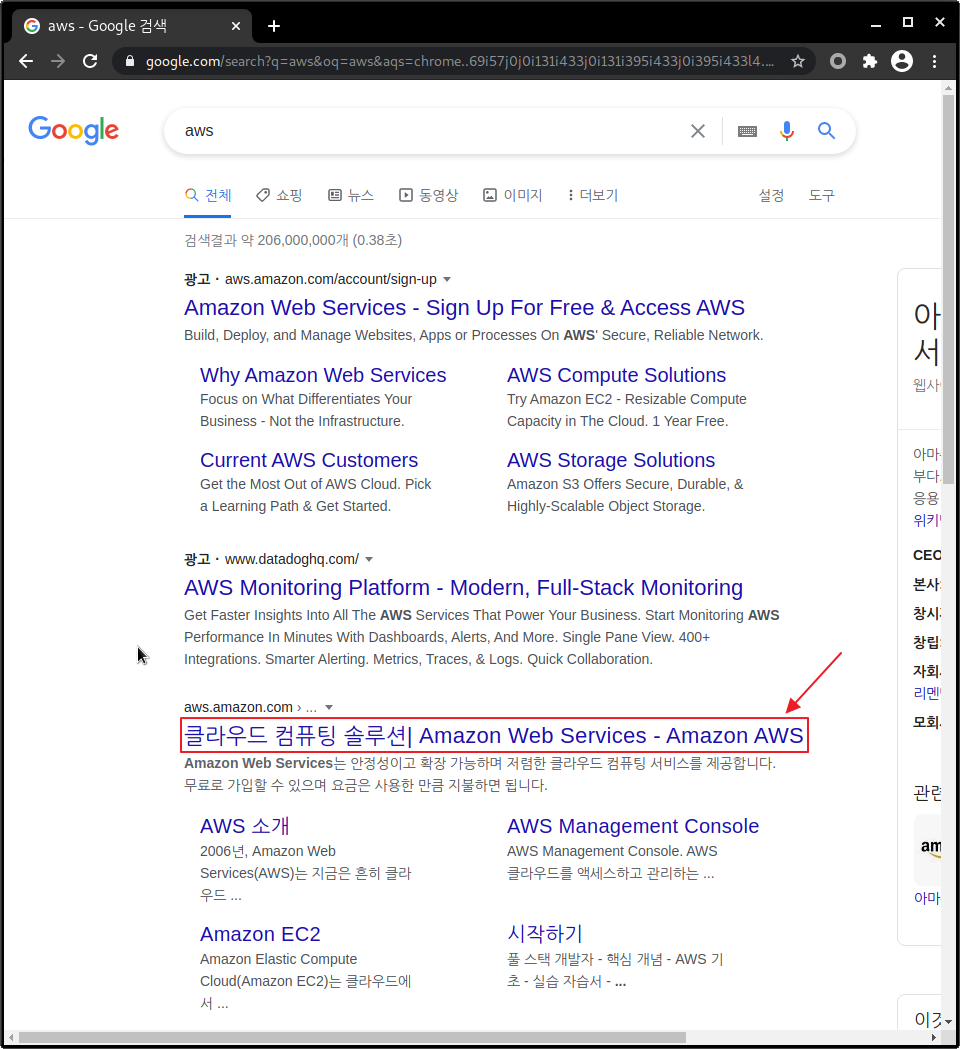
사이트에 접속 후 [AWS 계정 생성]을 누른다.
After accessing the site, click [Create a new AWS Account].

① 차례대로 웹 서비스에서 사용할 [이메일 주소], [암호], [암호 확인], [AWS 계정 이름]을 입력하자.
① Enter [Email Address], [Password], [Confirm Password], and [AWS Account Name]
to be used in the web service in sequence.
② 입력이 완료되었으면 [(필수) 동의하고 계정 만들기]를 눌러 다음 단계로 넘어가자.
② When the input is complete, click [Continue] to proceed to the next step.

① 계정 유형을 선택한다. [프로페셔널]과 [개인]은 특별한 차이가 없으나 기업 내부에서도 사용하려면 [프로페셔널]을
추천한다고 한다. 필자는 개인 목적으로 사용하므로 [개인]을 선택했다.
① Choose an account type. There is no particular difference between the [Professional] type and the [Personal] type,
but it is said that the [Professional] type is recommended for use within a company.
I use it for personal purposes, so I chose [Personal].
② 이름과 핸드폰 번호 그리고 현재 거주 중인 주소를 영문으로 입력한다.
② Enter our name, phone number, and current address in English.
③ AWS 고객 동의 약관을 읽어보고 체크한다.
③ Read and click the AWS Customer Agreement Terms and Conditions.
④ AWS 서비스의 프로모션 알림을 메일로 받아보고 싶다면 체크한다. (선택사항)
영문 버전은 이 체크 항목이 존재하지 않는다.
④ Click if we want to receive notifications of promotions from AWS services by email. (options)
This check item does not exist in the English version.
⑤ 작성을 완료하면 [계정을 만들고 계속 진행]을 눌러 다음 단계로 넘어가자.
⑤ When you are done, click [Create Account and Continue] to move on to the next step.

결제 정보 입력 항목이다.
This is the payment information input item.
초과 사용량이나 아마존에서 제공하는 유로 상품들에 대해서만 결제가 진행되고 1년 프리 티어를 이용할 경우 결제가 일어날 일은 거의 없으므로 걱정하지 말고 입력하도록 하자.
Payments are made only for excess usage or pay products offered by Amazon, and if you use the one-year free tier, payment will hardly happen, so don't worry and enter it.
① 카드 정보를 입력한다.
해외에서도 결제가 가능한 체크카드 혹은 신용카드의 정보를 입력해야 한다.
① Enter your card information.
You must enter the information of a debit card or credit card that can be paid overseas.
② 청구지 주소를 확인한다.
전 단계에서 입력한 주소지 정보가 기본으로 등록되어 있고 청구지 주소를 다른 곳으로 바꾸고 싶다면 [새 주소 사용]을
선택하여 정보를 새로 입력해주자.
② Enter your billing address.
If the address information entered in the previous step is registered by default and
you want to change the contact address to another location, select [Use a New Address] and enter new information.
③ 확인을 마친 후 [검층 및 추가]를 눌러서 다음 단계로 넘어가자.
이 단계를 넘어가면서 카드 결제가 100원 진행되고 다시 환불되는 식으로 카드 유무의 확인이 이루어진다.
③ After checking, click [verify & Add] to proceed to the next step.
After this step, the card payment of 100 won is processed,
and the amount paid again is refunded to check the existence of the card.

전화번호 확인 항목이다.
This is a phone number confirmation item.
① [문자 메시지(SMS)]와 [음성 통화] 중에서 선택할 수 있다.
필자는 문자메시지 인증을 선택했다.
① You can choose between [Text Message (SMS)] and [Voice Call].
I opted for text message authentication.
② 국가 또는 지역 코드 번호를 선택하고 핸드폰 번호를 입력한다.
② Select the country or region code number and enter the phone number.
③ 보안 검사를 통해 본인이 직접 가입을 진행하고 있음을 검증한다.
③ Through a security check, you certify that you are directly signing up.
④ [SNS 전송] 항목을 클릭하여 핸드폰 인증 단계로 넘어가자.
④ Click [SNS transmission] to proceed to the mobile phone authentication step.

핸드폰으로 받은 4자리 코드 번호를 입력하고 [코드 확인]을 눌러 인증을 완료합니다.
Enter the 4-digit code number you received on your mobile phone and
click [Confirm Code] to complete the verification.

인증이 완료되었다는 메시지가 나오면 [계속] 버튼을 클릭해주자.
Click the [Continue] button when the message that the authentication is complete appears.

지원 플랜을 선택하는 페이지이다.
This is the page for selecting a support plan.
자신이 사용할 용도에 맞게 필요한 플랜을 선택하면 된다.
You can choose the plan you need according to the purpose of your use.
필자는 무료로 사용할 수 있는 기본 플랜을 선택하겠다.
I will choose a basic plan that is free to use.

이로써 가입이 완료되었다.
Account creation is complete.
[AWS Management Console로 이동] 버튼을 눌러 로그인 메뉴로 이동하도록 하자.
Click the [Sign in to the Console] button to go to the login menu.


'Web_Service > AWS' 카테고리의 다른 글
| AWS EC2 ELK의 설치 및 설정 (0) | 2021.02.02 |
|---|---|
| AWS EC2를 리눅스에서 ssh 연결하기 (0) | 2021.02.02 |
| EC2 인스턴스 설정 / EC2 Instance setting (0) | 2021.01.27 |
| 리젼과 가용영역 / Region and Availability Zone (0) | 2021.01.27 |
| AWS 2단계 보안 설정 / AWS 2-step security setup (1) | 2021.01.26 |